
Let’s talk about something every hiker learns—sometimes the hard way: breaking in your boots.
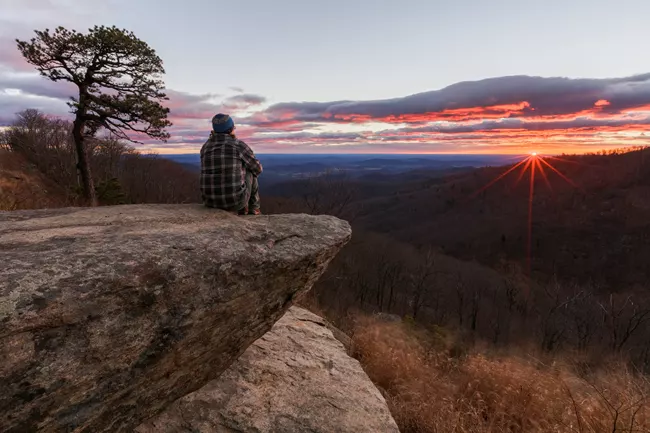
Hiking is supposed to be a fun, adventurous experience filled with breathtaking views, fresh air, and maybe the occasional wildlife sighting. A time to reconnect with our world. But all of that can be ruined faster than you can say “granola” if you’re limping with blisters because your boots are waging war on your feet.
Yes, I said war. Because that’s what it feels like when your feet get chewed up on a trail. So today, I’m sharing my hard-earned wisdom, so you don’t suffer the same fate.
Blister Horror Story: A Lesson in What Not to Do
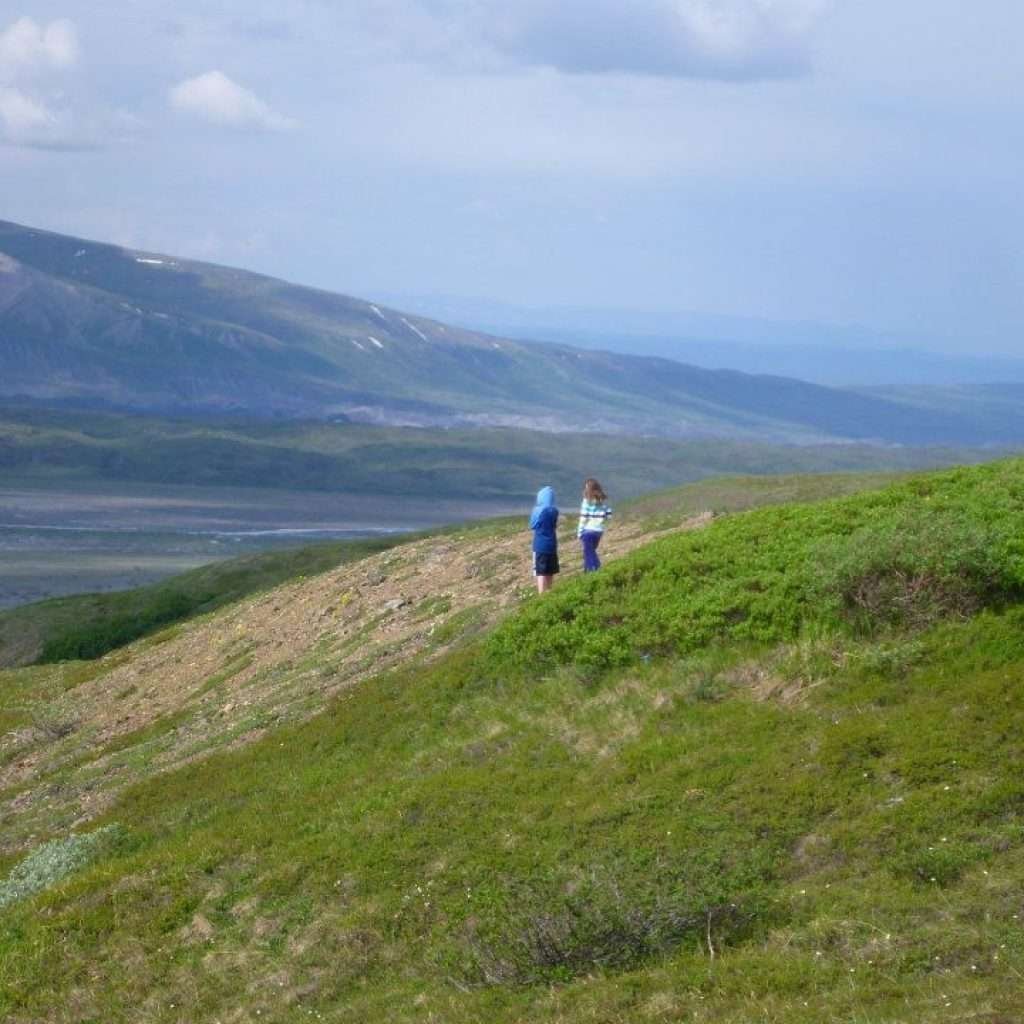
Let me set the scene: I was headed to Alaska. Wild, beautiful, and rugged Alaska.
I’d done my homework—well, most of it. I spent weeks comparing hiking boots, I obsessed over the waterproofing, ankle support, weight, tread, and whether they were right for the terrain I’d be hiking. I ordered the perfect pair and eagerly laced them up when they arrived. I even wore them around the house for a couple of days.
Nailed it, right?
Wrong.
I skipped one very important step. Can you guess what it is?
That’s right—I hadn’t broken my boots in enough. A few laps around the kitchen just didn’t cut it. By day two of the trip, I was hobbling. My heels were shredded, my toes were throbbing, and I was seriously questioning every life decision that had led me to that trail.
Lesson learned: break in your boots like your comfort depends on it—because it does.
So… How Long Does It Take to Break in Hiking Boots?
It depends.
If you’ve got lightweight hiking boots, the break-in process might only take a few days. But if you’re wearing heavy-duty leather boots, those need time. We’re talking a few weeks before they start to feel like a second skin instead of torture devices.
So don’t rush it. Plan ahead, be patient, and trust the process.
The Break-In Process: Step-by-Step
Here’s the method I now swear by. Follow these steps and your boots will be trail-ready—without the blisters.
Step 1: Start at Home
As soon as your boots arrive, wear them around the house.
Do the dishes in them. Vacuum in them. Dance in them. Pace the living room while watching your favorite show.
Make sure to:
- Wear the socks you plan to hike in (moisture-wicking, NOT cotton)
- Use your usual insoles if you wear them
Do this for at least 3 days to a week. This gets the boots used to your feet and lets you catch any glaring fit issues early.
Pro tip: No amount of breaking in will fix a bad fit. If your boots feel off—too tight, too loose, or just wrong—it’s better to return them and find a pair that actually fits well.
Step 2: Take ‘Em Outside
Once your boots feel okay indoors, start taking them outside.
- Go for short walks around the neighborhood or a local park
- Walk at your normal pace
- Introduce hills if available
- Gradually increase the distance each day
Do this for about a week, adding a little more time and terrain variety each day.
This allows your boots to adapt to your walking style and lets you break them in gradually without venturing too far from home.
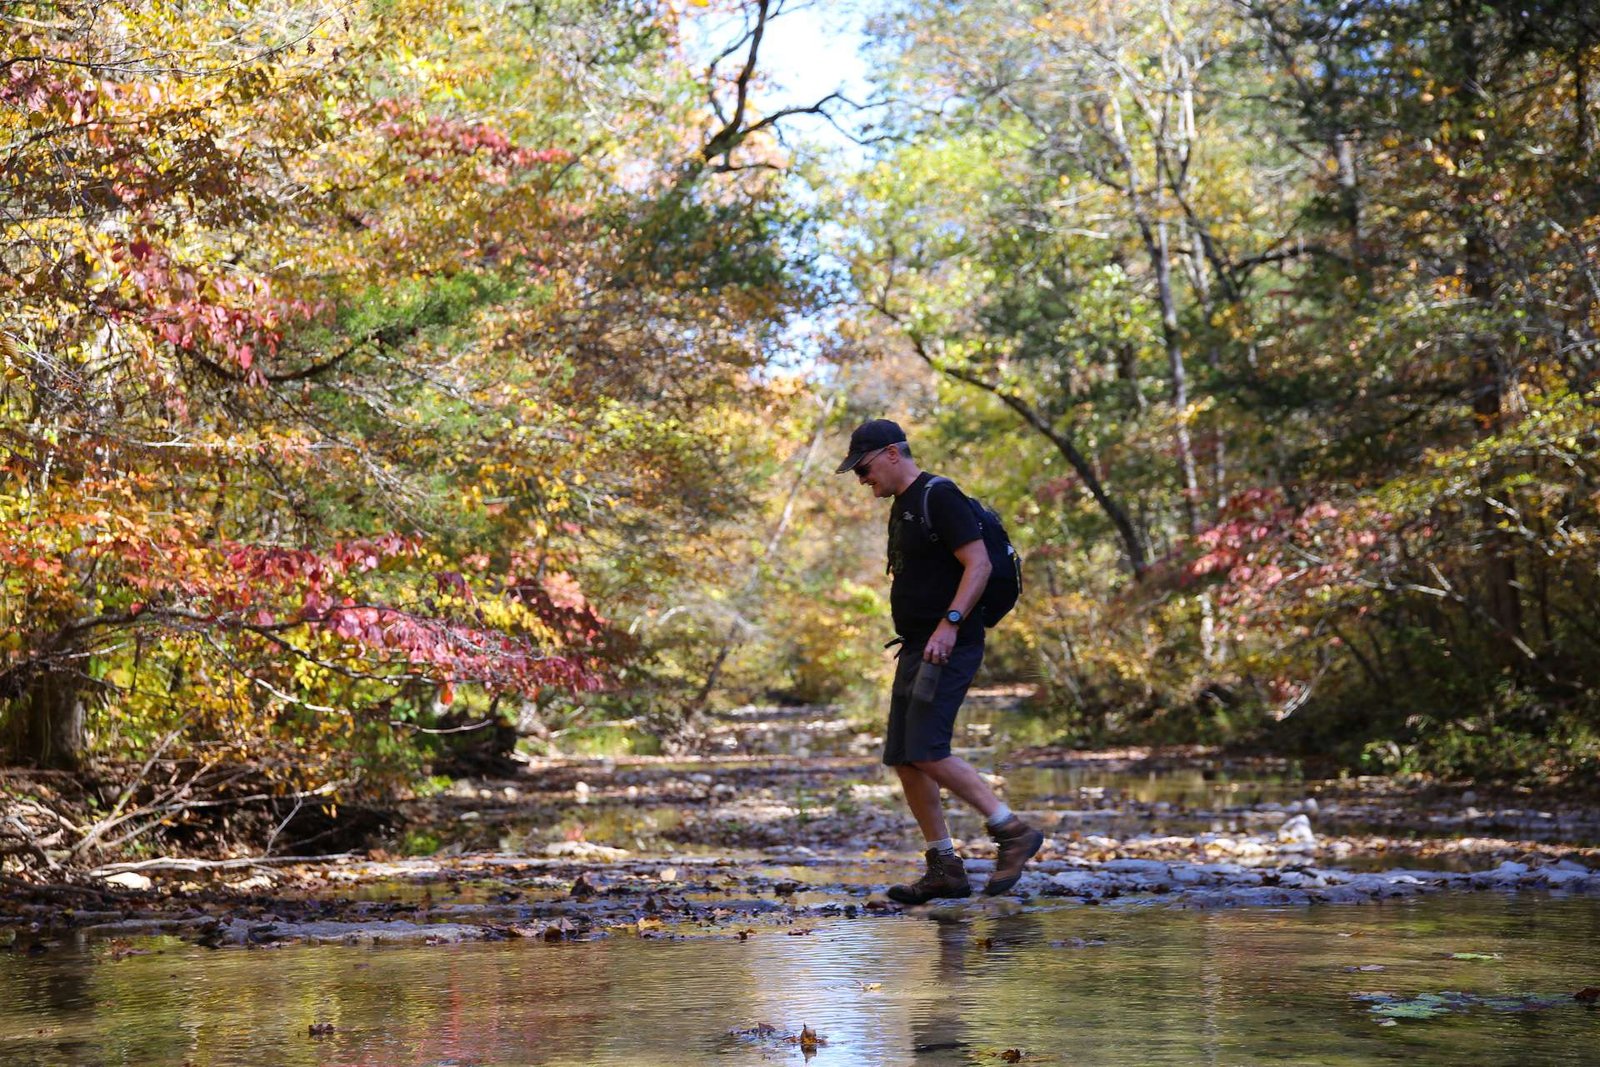
Step 3: Hit the Trail
Now it’s time to take your boots to an actual trail.
Start with short, easy hikes. If you usually carry a backpack while hiking, start with a lightweight pack and slowly work up to your regular pack weight.
Do this for a week or two, progressing to longer and slightly harder hikes. Let your boots mold and flex with your movement.
Pro tip: Finish this step with a trail that mimics the conditions you plan to hike regularly. This gives you one last check before any big adventure.
Tips for Happy Feet
Even the best boots can let you down if you’re not caring for your feet properly. Here’s how to avoid trouble:
- Watch for hot spots. If you feel heat or friction on a specific area, stop and address it immediately.
- Check your lacing. Improper lacing can cause pressure points and lead to blisters.
- Use the right socks. Moisture-wicking is key. Avoid cotton. If your socks are wet, change them.
- Carry backups. Bring an extra pair of socks on hikes and swap them out if needed.
Invest in the Right Pair
Boots aren’t cheap—but they’re one of the best investments you can make as a hiker.
A good pair of boots can last years, and your feet will thank you every single mile. Don’t skimp here. If you’re going to splurge anywhere in your hiking gear budget, make it your boots.
The Takeaway
The moral of the story? Breaking in your boots is not optional. It’s essential.
- Start at home
- Take your time
- Test them on real trails
- Don’t ignore discomfort
Follow this process, and you’ll be rewarded with comfortable, reliable boots that support you on every adventure.
Because let’s be honest—happy feet = happy hiking.
- About the Author
- Latest Posts

I have worked in the environmental education field for over 20 years, including work at zoos, aquariums, nature centers, and now state parks. My goal over the years has been to help people connect with nature and the animals that live there. I love taking people who find nature scary or intimidating and showing them how fun it can be. I have worked with wolves, cougars, monkeys, snakes, alligators, and sharks. My mom keeps asking me why I work with predators so much. She wishes I’d work with bunnies instead!
I love reading, scuba diving, kayaking, and anything else that involves water. I am not much of a hiker, but I love sitting in the forest and listening to the wind. I will travel anywhere you want me to go, and I genuinely believe seeing how others live, and love is the best way to understand others. One of my favorite memories is when I was accepted into a wolf pack that I worked with as a teenager. Two juvenile males sandwiched me between them and gave me a hug-—nothing like being the middle of a wolf sandwich!
- About the Author
- Latest Posts
I have worked in the environmental education field for over 20 years, including work at zoos, aquariums, nature centers, and now state parks. My goal over the years has been to help people connect with nature and the animals that live there. I love taking people who find nature scary or intimidating and showing them how fun it can be. I have worked with wolves, cougars, monkeys, snakes, alligators, and sharks. My mom keeps asking me why I work with predators so much. She wishes I’d work with bunnies instead!
I love reading, scuba diving, kayaking, and anything else that involves water. I am not much of a hiker, but I love sitting in the forest and listening to the wind. I will travel anywhere you want me to go, and I genuinely believe seeing how others live, and love is the best way to understand others. One of my favorite memories is when I was accepted into a wolf pack that I worked with as a teenager. Two juvenile males sandwiched me between them and gave me a hug-—nothing like being the middle of a wolf sandwich!